
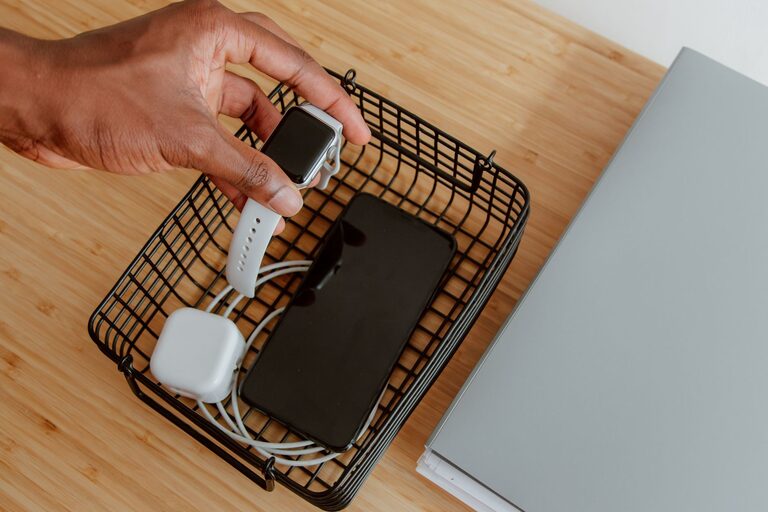
Setting up a dedicated charging station for your devices is a smart way to keep your home or office organized and ensure your gadgets are always ready to use. Whether you have smartphones, tablets, wireless earbuds, or smartwatches, a well-planned charging area reduces clutter and simplifies your daily routine. In this guide, we’ll walk you through everything you need to know to create an efficient and stylish charging station.
Why Have a Charging Station?
With the number of devices we use daily, cords and chargers can quickly become messy and hard to manage. A charging station:
– Keeps all your devices charged in one place
– Reduces the risk of lost chargers or tangled cords
– Creates a neat, clutter-free environment
– Makes it easier to find your gadgets when you need them
What You’ll Need to Get Started
Before you start building your charging station, gather these essentials:
– Power strip or USB charging hub: Choose one with multiple outlets or USB ports
– Charging cables: Make sure you have the right cables for each device
– Organizer or docking station: This can be a store-bought device holder or DIY container
– Cable management tools: Clips, ties, or sleeves to keep cords tidy
– A flat surface: A small table, shelf, or desk area to place the station
Step-by-Step Instructions for Setting Up Your Charging Station
1. Choose the Location
Select a convenient spot that’s easy to access, such as a desk, entryway table, or bedside. The location should be near a power outlet to avoid excessive cable length.
2. Pick the Right Charging Equipment
Use a power strip or USB charging hub with enough outlets and ports for all your devices. Investing in a charger with fast charging capabilities can save time.
3. Organize Your Devices
Arrange devices according to size or frequency of use. For example, place your phone and earbuds where you can reach them quickly, while less-frequently used gadgets can go slightly further back.
4. Manage the Cables
To prevent tangles, measure the cables so they’re not too long. Use cable clips or ties to bundle excess length and keep cables from overlapping. You can also use cord sleeves to group multiple cables together for a cleaner look.
5. Use a Docking Station or Holders
A multi-device charging dock or stand can keep devices upright and prevent them from sliding around. If you prefer a DIY approach, small boxes or trays can work too. Consider labeling slots for each device to keep it consistent.
6. Add Personal Touches
Make your charging station a part of your decor by adding plants, photos, or decorative containers. This will make the space inviting and encourage you to keep it tidy.
Tips for Maintaining Your Charging Station
– Regularly clean the area: Dust and wipe down the surface and devices.
– Check cables for wear: Replace frayed or damaged cords to ensure safety.
– Avoid overloading outlets: Use power strips with surge protection.
– Unplug devices when fully charged: This prevents battery wear and saves energy.
– Update chargers as needed: Newer devices might require updated charging technology.
Ideas for Different Types of Charging Stations
For a Family Hub
Create a station with multiple charging ports and separate labeled spots for each family member. Add baskets for shared items like tablets or portable games.
For a Home Office
Combine your charging station with your workspace by integrating USB hubs into your desk. Keep frequently used devices within arm’s reach and add wireless charging pads for convenience.
For Travel Preparation
Design a portable charging station with a compact organizer and a multi-port charger. This way, you can pack all your cables and chargers neatly for trips.
Conclusion
Setting up a charging station for your devices doesn’t have to be complicated. With just a few tools and a little planning, you can create a tidy and efficient space that keeps your gadgets powered and your cords under control. Start by choosing the right location and equipment, then organize and personalize the station to fit your lifestyle. Happy charging!
